Chandelier Tutorial
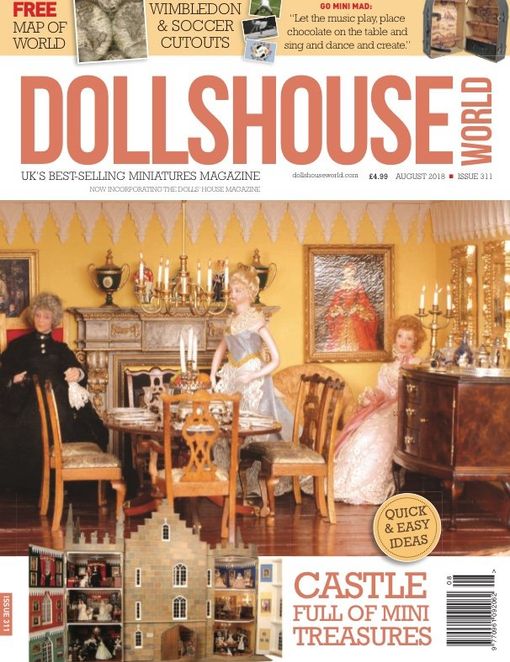
Featured in Dolls House World Magazine
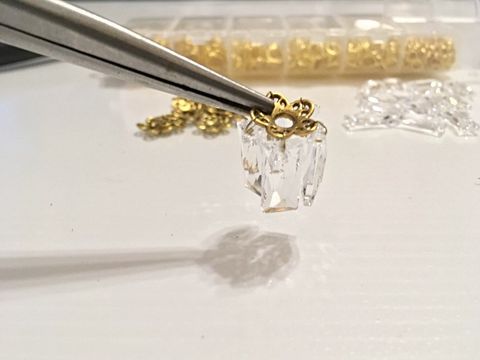
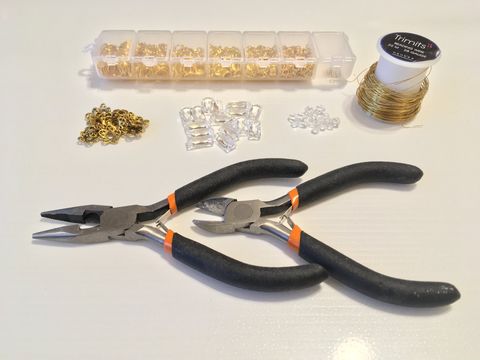
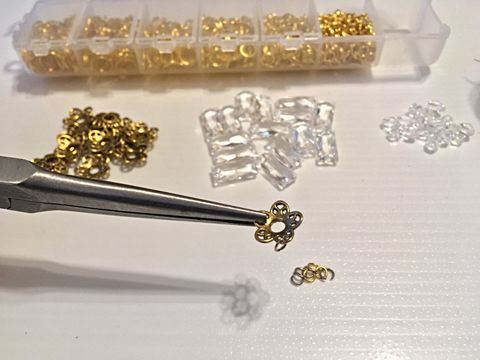
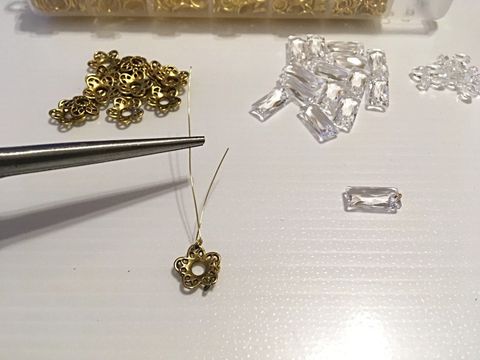
Here are the tools needed to add crystal to your chandelier
1. 4mm Crystal Bicone Beads.
2. 8mm Pear Droplets or 10mm Queen Baguette crystal.
3. 28gauge Gold Bead wire.
4. 12mm Bead Caps with a 2mm hole.
5. selection of assorted size jump rings and a selection of beading tools.
2. 8mm Pear Droplets or 10mm Queen Baguette crystal.
3. 28gauge Gold Bead wire.
4. 12mm Bead Caps with a 2mm hole.
5. selection of assorted size jump rings and a selection of beading tools.
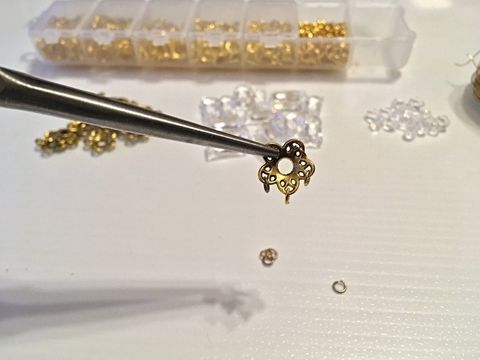
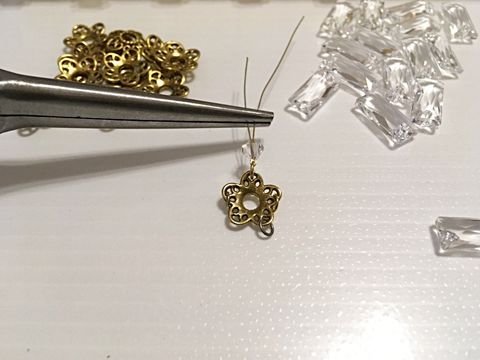
Start by adding links to the perforated edge of the bead ring.
The bead cap now has links on each hole.
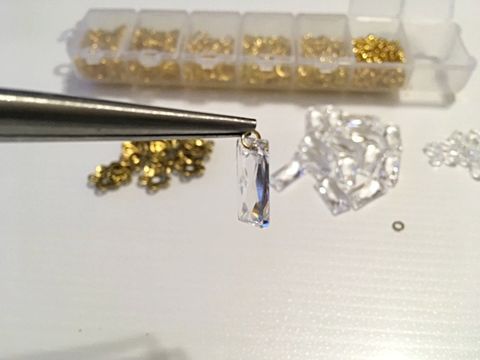
Next add a link to your pear or Baguette droplets.
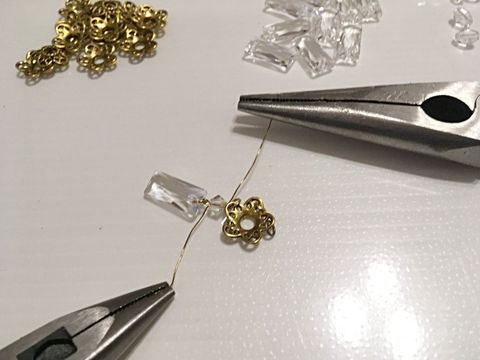
Cut some bead wire.
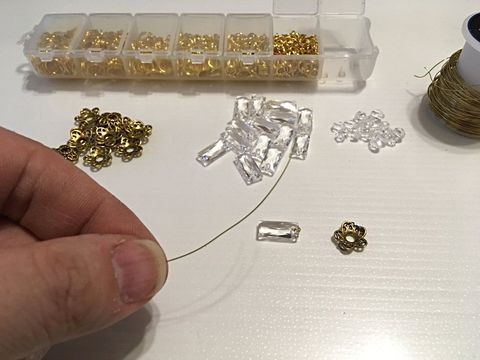
Put wire through the link making one end longer than the other.
Apply bead over both wires and push down till it touches the link and then bend the short wire to one-side.
Next place your droplet on to the longest wire.
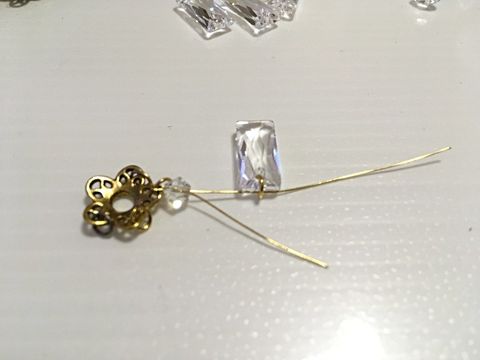
Then bend the longest wire and push back through the bead.
Then using 2 pairs of pliers pull both ends of the wire till it is tight.
Then snip off the unwanted wire.
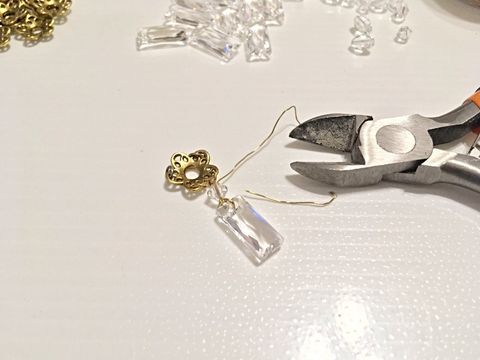
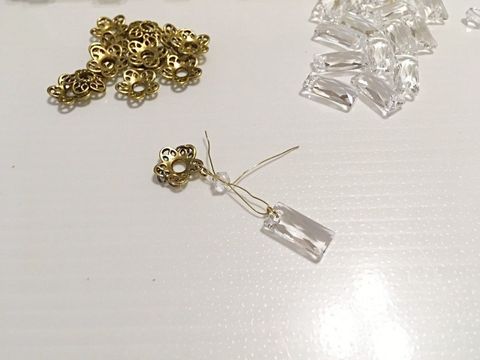
This is how you attach all your droplets.
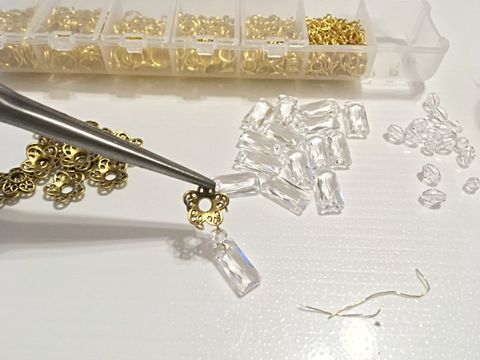
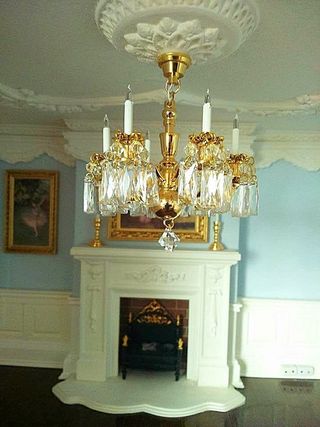
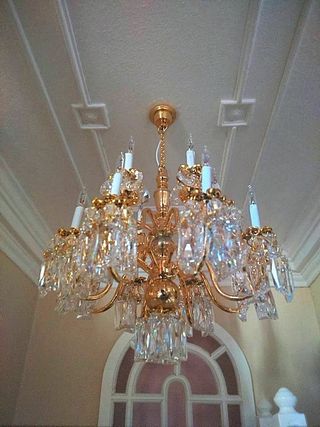
After 5 have been applied the bead cap is ready for your light.
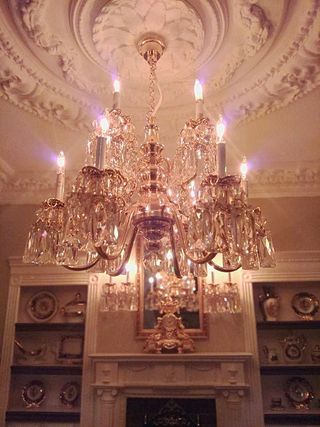
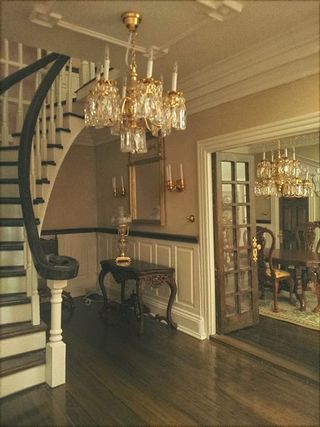
There are many different types of crystal shapes to choose from and beads are optional and once you have mastered this technique you can experiment with others.