Ceiling Dome Fixing
First thing you will need is a hole saw cutter,these can be bought in kits or individual.
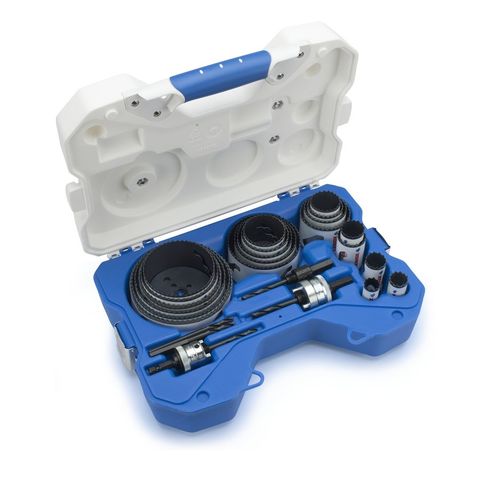
These are great for cutting different size holes for various projects.
Next select a size that is a few millimetres smaller than the diameter of your dome this is so your dome does not drop straight through the hole you are about to cut.
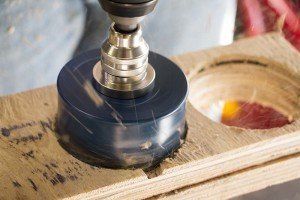
Once you have selected a hole cutter attach it to you drill.

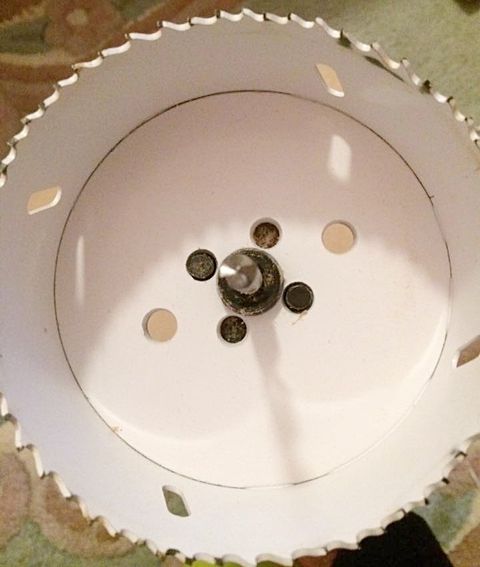
There are many different styles of hole cutter attachments this is the most common design they all have a drill piece for the middle.
Next find the center of the ceiling you are looking to fit a dome into and then place the drill point in the center and start to drill.
One you have done this you will have a hole that is slightly smaller in diameter for your dome.
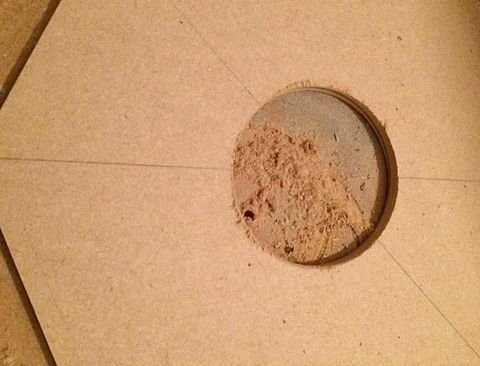
Next make sure that your dome fits in to the opening,if the opening is a little to small use sandpaper to sand around the hole to make the opening larger.
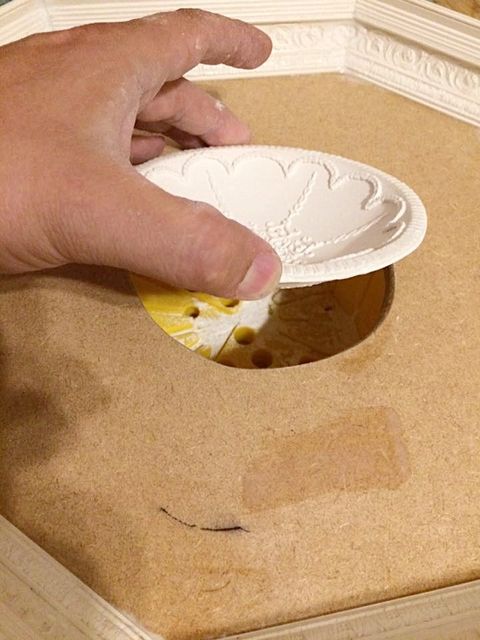
Once you have the correct size hole coat the ceiling with a mix of water and PVA glue to seal the surface and also will also help your paint stick better.

Apply the same mixture the the back of your dome be careful not to apply to much in one go as it may over wet the plaster, once dry this will make the dome stronger.
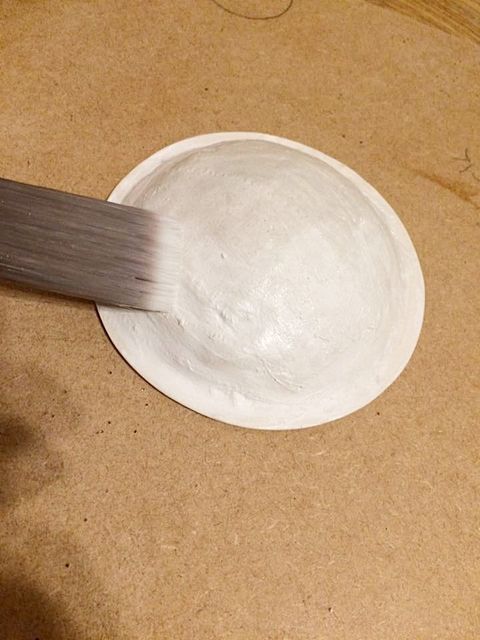
Once dry you can decorate your dome if you wish before sticking it in to place.
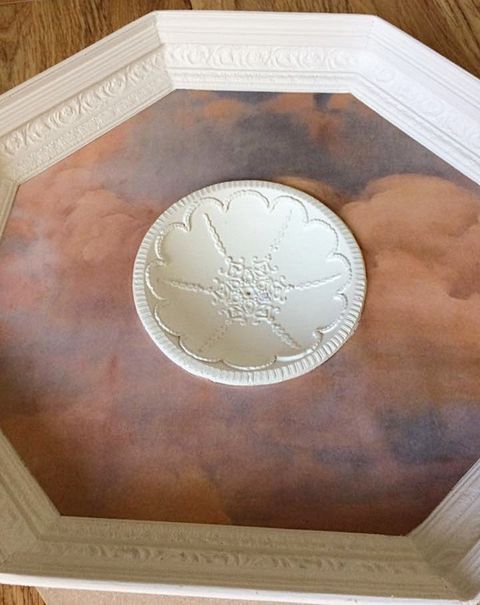
To stick your dome in to place i found that No Nails glue worked for me and once it is in position wipe the excess glue away from the dome's edge with a damp sponge.

There are many different ways to decorate your ceiling and dome i opted for a print of clouds i downloaded off the internet and glues in to place.

The dome and ceiling are ready for my Beauty & the Beast musical cabinet.
The plaster detail of the dome was covered in 24ct gold leaf.
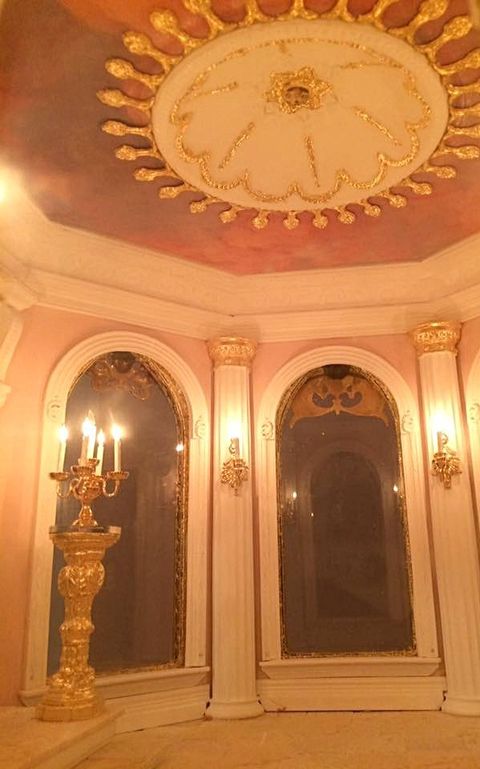
A crystal chandelier is added to finish it off,a tutorial on how to make these is also available to view.

